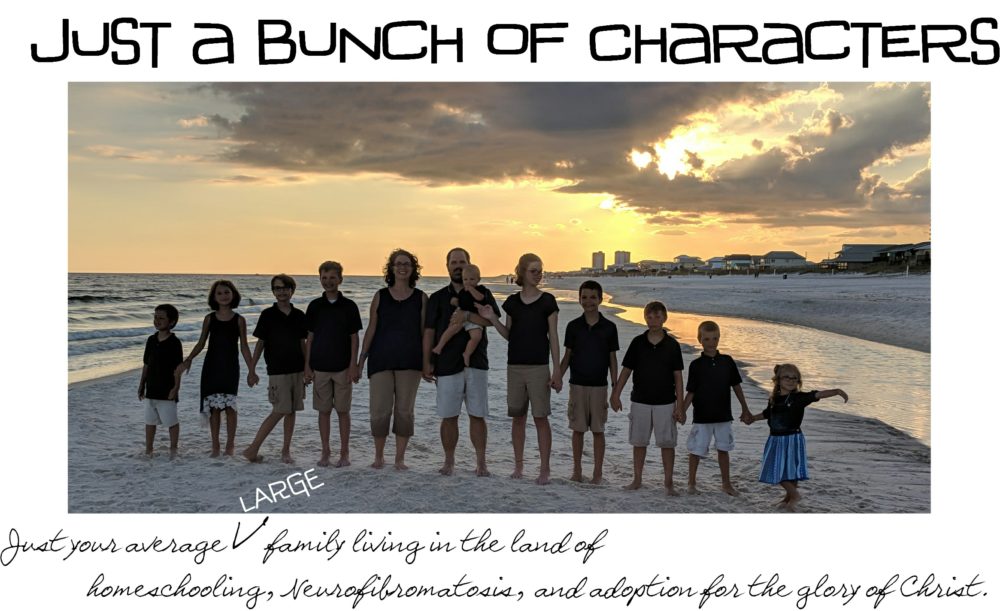
If you subscribe to my blog through Google…then click on it and check out my new header/makeover.
I’m not that great with figuring out html, so I have to “jerry rig” my blog. Here’s how I did it:
1. Select the most basic templates-Minima (this is all in blogger)
2. In a publishing program or other program create the header you want. I went to computerscrapbook.com, picked out a digital kit I liked and then order it…maybe four dollars total. Then I used all the paper, elements, and other things with the kids pics to put it together.
3. I then copy and pasted it into a photo editor program to resize it. I had to resize it to 700 pixels (on one side the other side was kept in proportion to the resized size) to get it to fit correctly.
4. Back to blogger: go to the layout. Click on page elements. You can then click on edit in the title. Choose to put a picture in and use the picture in place of the blog title (if you put your title in your header design…which I highly suggest to make it look right).
5. You can then go to “fonts and colors” in your template and change all the fonts to fit your new header.
Voila! Or you can call me and I’ll be glad to do it here with you…our kids can have a playdate while we immerse ourselves in blogworld!!
VBS is done and I am so relieved! I believe we’ll be taking a break from the whole family being involved in the ordeal (or at least just let Zoe go) next year!

I think I got it. I couldn’t get the pic to fit exactly, but oh well. I still like it. Thanks for sharing!!!
Oh, it looks so good. If you don’t want the border around it, you can just change it to the same color as your background color. Then it’ll look like it fits!
The new layout looks great! Maybe someday we can use the tips for how to create one too. Thanks for sharing all you do.
Love,
DKC